Optimal UV ink adhesion all begins with the chosen substrate of choice. For instance, a glass pint glass will not have the same process as stainless-steel wine tumbler. Never fear, our specialists at Inkcups are happy to recommend the correct route for your substrate. After all, the substrate is the stepping stone for which ink to use, and if both a primer and pre-treatment are required.
UV ink adhesion can be enhanced by three main components: UV ink, primer, and the method of pre-treatment. Dependent upon the substrate Inkcups offers many different methods of pre-treatments and primers to chose from for long lasting results. Even the correct choice of ink itself comes into play to warrant strong adhesion.
Prior to choosing colors or graphics, one needs to be confident ink will stick to the chosen substrate. Here at Inkcups we take our time to test your product with different inks, primers, and pre-treatment options to come up with a customized regime for you. It is all part of our Inkcups Advantage.
Certain substrates require specialized UV inks. Inkcups offers six different UV LED curable inks to accommodate any substrate you look to print on. Both surface tension and drying time come into play when selecting the correct type of UV ink. The surface tension of the substrate and the ink must align. If the surface tensions do not align the ink will bead off the surface. For optimal adhesion, the surface tension of the ink must be less than the surface tension of the substrate.
Primer? Pre-Treatment? Or Both?
Your substrate and intended use of substrate will indicate the combination of primer and pre-treatment needed, or rather the lack thereof. For instance, a pint glass which could be expected to be washed hundreds of times will require a more robust adhesion than that of a candle holder that would never encounter a dish washer. Inkcups is happy to advise you on if a primer and pre-treatment are needed for your product.
Primers
Inkcups offers eight different UV inkjet primers. Substrate materials range from polypropylene to coated metals to glass. Just like ink, primer is specific to the type of material being printed on to ensure proper and long lasting adhesion. Not only are there numerous types of primers, but there are multiple ways to apply primer to a substrate. Primers can be either wiped or sprayed on.
Wipe On Primer
The most basic and cheapest option for pre-treatment is the primer wipe. One can manually wipe a lint-free towel loaded with primer onto the substrate. This method requires nothing more than manual labor, the lint free towel, and primer itself. However, due to its basic nature, superior abrasion resistance is not promised. The wipe on primer method is used primarily for glass substrates.
MagiCoat® Primer
MagiCoat® is a water-based primer for glass that combines parts A, B, and C to be sprayed onto the substrate immediately after a flame treatment. The combination of the flame and sprayable primer allows the item to withstand up to 200 residential washes.
The MagiCoat® Pre-Treatment system houses a flame treatment system as well as a spraying system for primers. The flame portion of the treatment removes coatings and debris found on the surface of the substrate. The system has 8 individually rotating systems and can pre-treat as many as 15 items per minute.
Pre-Treatments
Flame
Flame pre-treatment is a common practice to magnify ink adhesion through the manipulation of surface tension.
The first step in the flame pre-treatment process is wiping down the glass substrate with a lint free towel or with an isopropyl alcohol wipe. Flame pre-treatment aims to increase surface energy of the glass therefor increasing wettability by utilizing the extreme temperatures attained within the oxidation layer of the flame. The wettability is important to the adhesion as it is the ability of a liquid to maintain contact with a substrate. Wettability is measure in degrees, the smaller angle the better the wetting.
One of the leading industry flame pre-treatment methods is Pyrosil®. Pyrosil® is an additional component added into a flame treatment. It eliminates issues that flame treatment alone cannot overcome, such as cold end coating, contamination, and mold.
Plasma
The Plasma pre-treatment changes the surface tension of the substrate by using the plasma portion of a flame on a substrate.
Corona
The Corona pre-treatment alters the surface tension by taking an electrical type of charge to the surface of the substrate. It increases adhesion and removes any debris at the same time. The corona pre-treatment is strong enough to stand alone, often eliminating the need for any accompanying pre-treatment method.
UV Ink Adhesion Testing
For your convivence we have all of the necessary tools readily available in-house to test your substrate. To begin the process, simply fill a sample request form. From that form we can have a better idea of your adhesion expectations and needs. To start the process officially we will ask you to mail in 10 to 15 samples of your substrate.
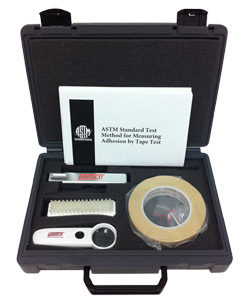
To test for passing adhesion Inkcups abides by ASTM’s standardized tests of tape, scratch, Crosshatch A, and Crosshatch B. The title of each type of adhesion test doubles as a link to a YouTube video of the respective testing method.
- Tape Adhesion Testing: One applies tape to the inked substrate and rapidly peels the tape off at a 180 degree angle. If no ink is removed, this is considered a pass and one can proceed to the next test. However, if any lifting or delamination of the ink occurs the item has failed the test.
- Scratch Testing Method: With the use of a Sclerometer, a tool resembling a pen which is spring loaded with a carbide tip, one drags it across the inked substrate. If when the Sclerometer is dragged across the surface and it doesn’t delaminate any of the ink, it is a pass. If when the Sclerometer is dragged across the surface and delaminated in a solid hard line, it is still a pass. It is a fail when the Sclerometer is dragged across the surface and there are jagged, rough edges or anything between the ink and the substrate.
- Crosshatch A Adhesion Testing: In this test one uses an razor blade to make a X-cut in the ink on the substrate. Then one applies a piece of tape and rapidly peels the tape off at a 180 degree angle. If any ink is removed by the tape, it results in a failed adhesion testing.
- Crosshatch B Adhesion Testing: This test requires a multitooth adhesion cutter. Begin by dragging the blade across the inked substrate, then dragging it once again in a 90 degree angle, creating a lattice pattern. Then apply a piece of tape and rapidly peel off the tape at a 180 degree angle. This testing differs from the others as ASTM provides a standard classification chart, where one aims to achieve a score of 5 for optimal adhesion where all the squares of ink remain on the substrate.
Additional Adhesion Testing
Our goal is to meet or exceed customers expectations when it comes to everything we do. We are happy to go the extra mile and continue testing your substrate with three additional tests if applicable.
- Extreme Squeeze Test: This test is for flexible substrates, like sports bottles. The substrate is squeezed so both inner walls touch, then released. If there is no delamination, cracking, or splitting of the ink, it is a pass.
- Ice Bucket Test: This test takes the extreme squeeze test to the next level. The substrate is submerged in a bucket of ice water for a period of time. Upon removal from the bucket it is a pass if the substrate is able to be squeezed so both inner walls touch without any cracking, delamination, or separating of ink.
- Dishwasher Test: This test can be for either or both residential or commercial dishwasher. Residential dishwashers are more aggressive than commercial dishwashers, so Inkcups uses residential dishwashers for testing. Depending on the customers required expectation for washes, the substrate is run through a dishwasher the desired amount of cycles. If the substrate comes out of the final cycle without any delamination, that is a pass.
Did you know Inkcups has a podcast? Check our our channel on Spotify, Specialty Printing. To hear an in-depth explanation on adhesion testing listen to Matthew’s episode, Ink Adhesion Testing Methods.
 Tagless Printers
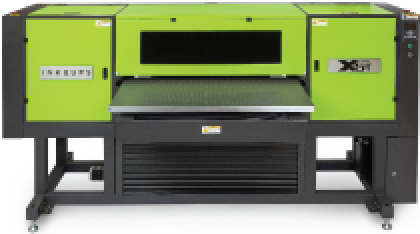 UV Flatbed Printers
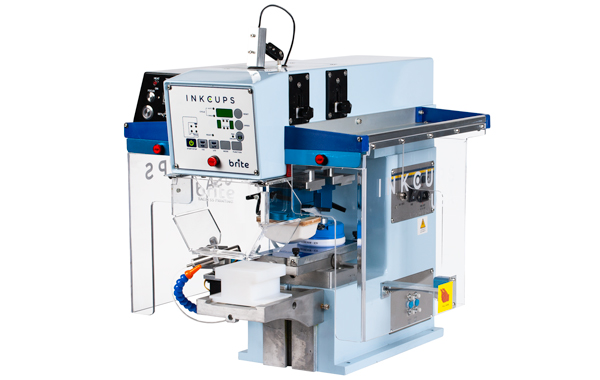
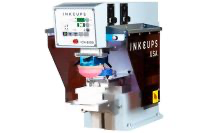 Pad Printing Machines
 Pretreatment Systems
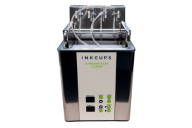 Inkjet Printing Auxiliary
 Laser Plate-Makers
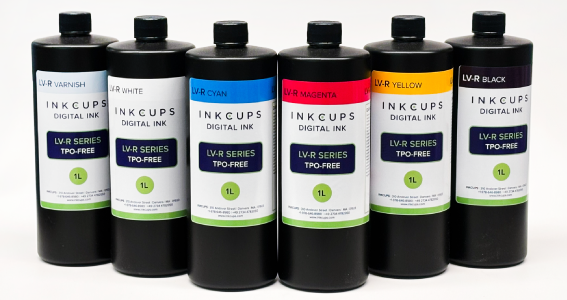 Inkjet Printing Supplies
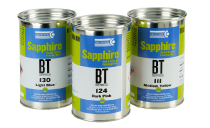 Pad Printing Supplies
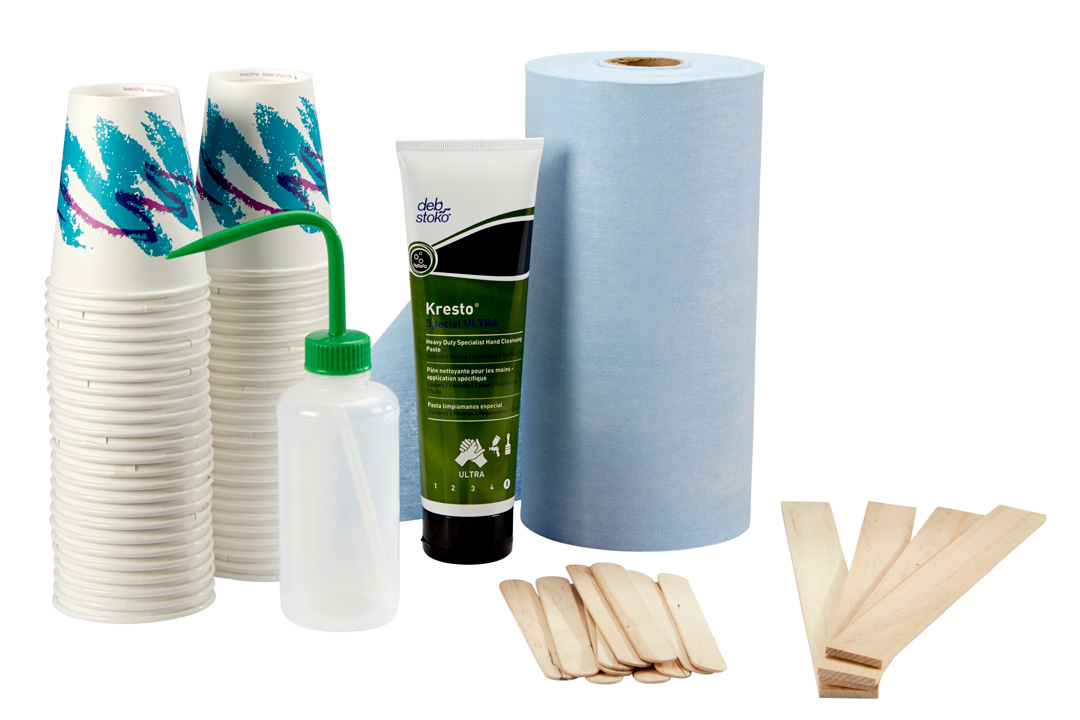 Tagless Supplies
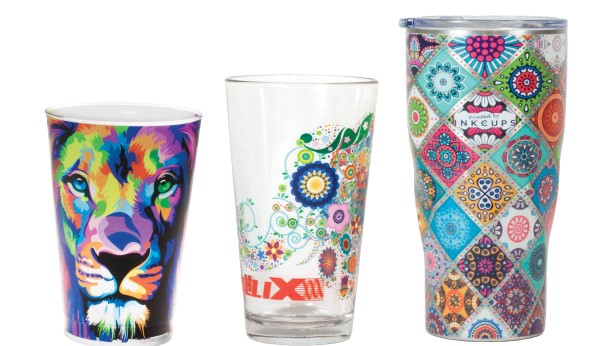
Add Your Comment