When it comes to pad printing, one of the essential components of the process is the printing plate that holds the artwork to be printed. There are two widely-used plate materials: laser engravable plates and photopolymer plates. Laser engraved plates are etched with either a CO2 or fiber laser, while photopolymer plates utilize UV light to harden specific areas. The unexposed areas on the plate remain soft so that they wash away during the development process.
Both plate types offer advantages: Laser plates provide faster runs, consistent output, and higher quality, while polymer plates offer a cost-effective, slightly slower solution. In this blog post, we will delve into the intricacies of these two plate-making methods.
Furthermore, outsourcing can be a smart choice for companies not looking to take on an additional aspect of the process. Inkcups offers laser plate etching services and provides fast, professional results. We have dedicated plate-making technicians to ensure that plates are etched exactly to your liking. Domestic wihtin the US, plates can be at your doorstep in 1 to 2 business days.
Photopolymer Plate Production
Printing Plate Production Methods: Photopolymer Plates vs Laser Engraved
The photopolymer plate production process involves several items: an exposure unit, plates, film positive, plate developer, brush, dryer, and oven. This meticulous, multi-step procedure demands keen attention to detail and requires as much technique as it does equipment.
For those seeking to master this technique, Inkcups offers an invaluable video resource. While the video may seem dated, rest assured that it contains all the vital information necessary to expedite the learning curve. Find the video here: How to Make a Photopolymer Plate for Pad Printing Machines.
How to Expose a Photopolymer Plate
- Spray the film positive with toner to darken the image.
- Cut the film positive out to fit the plate.
- Remove the protective film from the photopolymer plate and place the film positive on top.
- Place the plate in the exposure unit.
- Lock the glass in place.
- Expose to UV light for one minute.
- Remove the film positive from the plate and replace with the screen film.
- Lock the glass in place.
- Expose to UV light for one minute.
- Remove the plate from the exposure unit, take off the screen film, and wash the plate with plate developer for one minute. Rinse the plate with water.
- Dry the photopolymer plate with compressed air.
- Place the plate in a drying oven for 10 minutes to cure.
- Post cure the plate in the exposure unit for 10 minutes.
- Head over to your pad printer to print!
Tips for Using a Photopolymer Plate Maker (Exposure Unit)
Mastering your UV exposure unit is key to perfect photopolymer plate production. Precision ensures a clean, consistent etch for optimal pad printing results.
Here are some tips to streamline your plate-making process:
Film and Contact Optimization
The artwork on your film positive must be completely opaque to block UV light. Use toner enhancers if needed. Light bleed will ruin the plate.
Additionally, it’s best practice to place the film’s emulsion side directly against the photopolymer plate. Use the unit’s vacuum frame (if available) to eliminate air gaps, which cause fuzzy edges and inconsistent depth.
Timing is Critical
Exposure time is the most important factor in successful polymer plate production. It’s not worth guessing on the timing – instead, follow instructions if they are provided, and if not, utilize a step-wedge test to find the exact time for your specific plate and unit. Always record and follow this time for future runs.
Regular Equipment Maintenance
Dust or smudges on the unit’s glass create shadows. Clean the surface before every use. Furthermore, it is to be expected that the intensity at which the UV bulbs burn will diminish over time. Track usage and replace bulbs as recommended to ensure consistent UV output and avoid unreliable exposure times.
By following instructions and focusing on these three areas of proactivity, you’ll ensure high-quality photopolymer plate production every time.
Completing the entire photopolymer plate production process usually takes a minimum of 15 minutes and can extend to around 30 minutes per session. Leveraging the size of your exposure unit, you may have the capability to produce multiple plates simultaneously. Photopolymer plates are ideal for small businesses employing limited artwork variations. However, if frequent artwork changes are on the horizon, consider exploring laser plate making for greater adaptability.
How to Etch a Plate with a Laser Maker
Laser plate makers quickly and efficiently etch plates with incredible detail using computer-to-plate technology. This process utilizes the laser machine (whether it be a CO2 laser or fiber laser), ventilation, and plate material. Compatible plate material for laser plate makers includes Cobalt Steelback, Cobalt Ultra, DuraLaze, and Onyx. It should be noted that using a laser plate maker eliminates human error that is often a bump while creating photopolymer plates.
The laser plate making process is straightforward and easy. Simply set up your artwork, send it to the laser plate maker, align your plate, close the door, and start the etch. The laser plate maker will then begin to etch precise fine line, consistent graphics on the plate. Depending on the requirements of the etch, this can almost always be completed within 15 minutes (This is also dependent upon the laser plate maker itself. Machines like the Cobalt ONE can etch with the upmost efficiency, under five minutes. More to come on this later.)
Explore Inkcups’ Laser Plate Maker Lineup
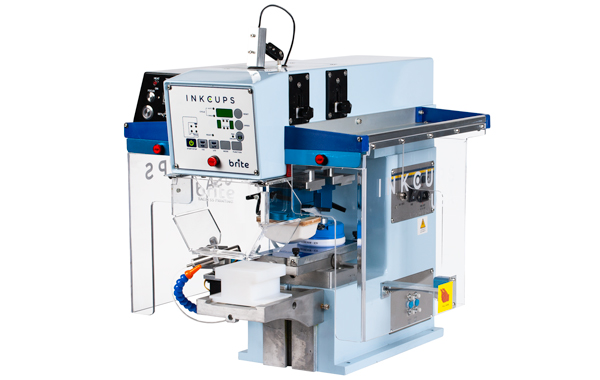
Inkcups offers a comprehensive range of plate makers, designed to cater to a wide variety of pad printing plate needs. The impressive lineup comprises the Cobalt ONE and Cobalt PRO, each boasting distinctive qualities and features to suit specific requirements.
Compact and comprehensive, the Cobalt ONE is a state-of-the-art fiber laser etching machine, integrating all aspects of laser-plate etching technology into a single unit. It can etch images in under 5 minutes, delivering up to 30,000 impressions. Designed for near-constant use, the Cobalt ONE accommodates 24/7 production demands with ease.
Harnessing cutting-edge CO2 laser technology, Cobalt PRO excels in generating high-resolution graphics of up to 1500 dpi on an extensive range of plates. Packed with premium features like a closed-loop DC servo motor and autofocus, it guarantees top-notch etching quality.
More information on the selection of laser plate makers that Inkcups has available can be found here: Laser Plate Makers.
Additionally, there is valuable information pertaining to the laser plate making process that can be found on the Support Hub.
 Tagless Printers
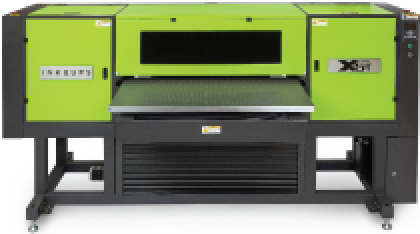 UV Flatbed Printers
 Pad Printing Machines
 Pretreatment Systems
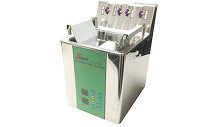 Inkjet Printing Auxiliary
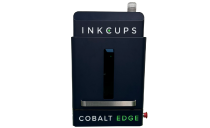 Laser Plate-Makers
 Inkjet Printing Supplies
 Pad Printing Supplies
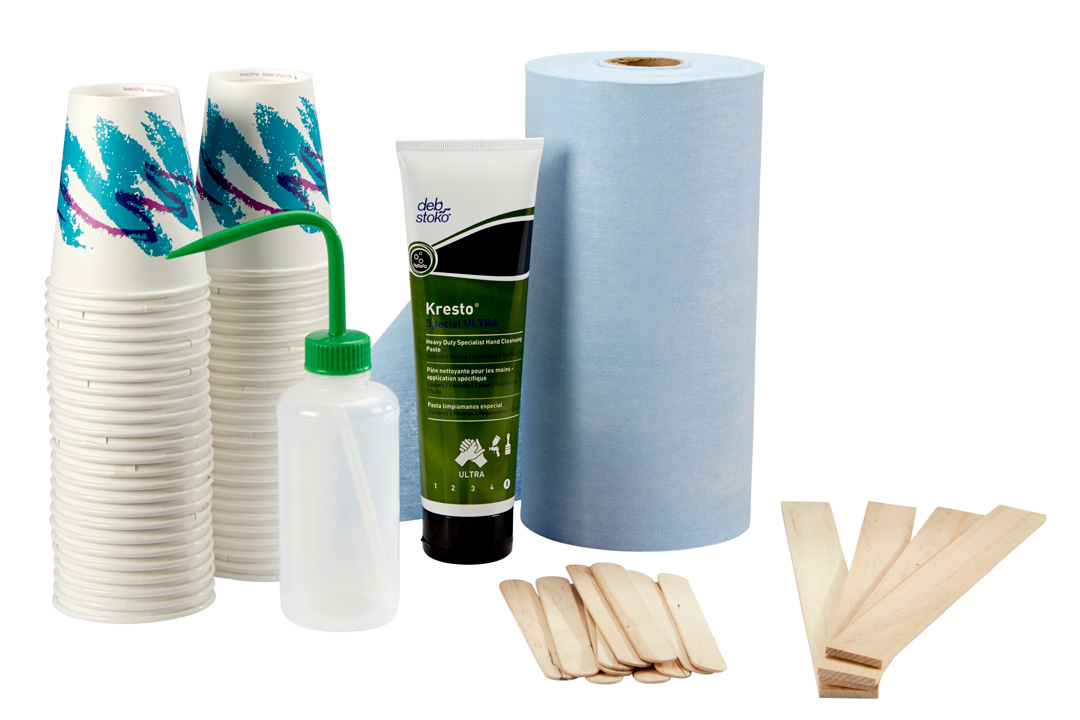 Tagless Supplies (tagless.inkcups.com)
Add Your Comment