According to the business case for drinkware, drinkware is the hottest product of the decade. From gifts to giveaways, this reusable product tops the charts for many as a go to when the holidays come around. But what is the best way to print on tumblers? This article discusses how to achieve full-color, awesome graphics with a rotary UV printer.
What is a Rotary UV printer?
A rotary UV printer is a traditional UV inkjet printer that is manufactured to print on cylinders rather than flat or slightly curved items. It utilizes cyan, magenta, yellow and black UV ink to reproduce high-quality graphics and images onto vessels. There are several types of rotary UV printers include: multi-pass, single pass and helical.
Learn more about the types of rotary UV printers: What is Rotary Printing?
For the purpose of this article, we will talk about the Helical printing which reproduces the most high-quality images in the shortest amount of time.
What is helical printing?
Helical printing is a patented printing technique by Inkcups. It prints a full image (up to 220mm) in single motion. Competing processes, such as single pass printing, require ‘stitching’ or piecing artwork together as the graphic can only be as long as the print head. Helical printing also interlaces the inkjet ink droplets, smoothing out band lines and producing uniform coverage. Finally, it produces the highest resolution images in both x and y directions.
What are the steps in printing tumblers using a rotary UV printer?
Starting from the beginning, the first step is to send the supplier the vessel that needs to be printed. With rotary UV printing, it is very important to work with a supplier that can offer a full package before getting into the printing. This will save time and money. This process is known as the sampling process. Here is a snapshot of how this is completed at Inkcups:
- Adhesion Testing
- Adhesion testing is the first step before printing. Sample technicians need to find the perfect formulation of pre-treatment (if needed) and UV ink. This follows what the customer specifies (i.e. specific adhesion requirements, wants, needs, etc.).
- Printing
- This is done with either the customer’s artwork or our artwork. Typically, customers like to send their own artwork in as it gives them a realistic sense of what their vessels will look like.
- Reporting
- A full report is written up and submitted with the printed samples. This includes all information from primers and UV inks used to which adhesion testing processes were used. This is submitted to the customer for approval.
- Fixturing
- Once the whole package is approved, the supplier will create specialized fixtures for the customer to ensure the part stays in place while printing.
- Training
- Finally, the most important step is training. There is, without a doubt, a learning curve for any digital machine purchase. A rotary UV printer is no different. At Inkcups, we require all companies who purchase this type of machine to go through training, either at our facility or at their facility. This step is crucial for success.
Now let’s get to printing!
What type of programs do I need to use a rotary UV printer?
While the specialty programming to print your artwork is included on the computer that comes with your machine, the artwork will need to be created in Adobe Photoshop or Adobe Illustrator. In these programs, you can design your art and prep it for printing.
Do I need to pre-treat my product?
Pre-treatment is determined during the sampling process. That is why this step is so crucial and should never be skipped. During the sampling process, the Sample Tech will ask qualifying questions regarding the intended use of the product. If the product is meant to be washed multiple times and passes difficult adhesion testing methods, a pre-treatment process will be outlined. Some products that absolutely need pre-treatment include glass and some plastics.
What type of UV ink will I need?
Just as with the pre-treatment methods, the UV ink that is best for the product will be determined during the sampling process. There are a few inks that are specialized for specific products. For example, T2 UV ink for Tritan Plastic is specifically for Tritan plastic whereas the S1 UV inkjet ink is best for a variety of substrates.
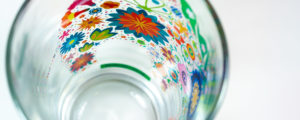
What are unique design capabilities I can achieve with a rotary UV printer?
- Mirror Print
- Mirror print or sometimes referred to as a sandwich print, is a design element specifically for clear vessels such as glass or plastic bottles. It takes the image and mirrors it so you can see the graphic from the outside and on the inside.
- Contour Print
- Contour print layers the varnish on particular parts of the graphic to give it a raised effect.
- Stained Glass
- Dialing down the opacity of the color can cause a stained-glass effect where you can still see through it but it isn’t clear. This works best with clear vessels.
- Etched
- By using a lower-opacity white with no varnish, printers are able to make their product look etched. This is especially popular with use on glass.
- Matte
- Varnish does not always have to be used to print artwork. Some prefer a non-shiny look.
Impress your customers with eye-catching graphics. Contact us to get started with rotary UV printing.
 Tagless Printers
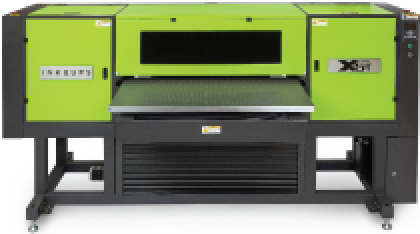 UV Flatbed Printers
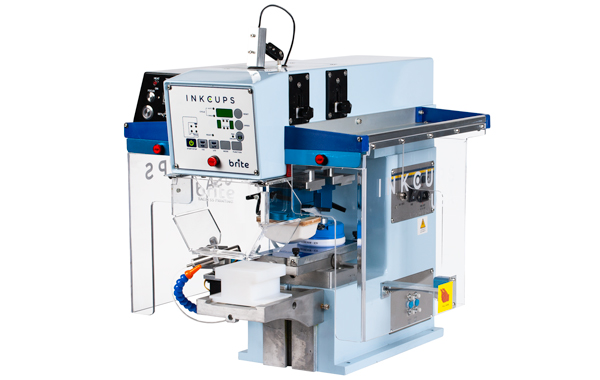
 Pad Printing Machines
 Pretreatment Systems
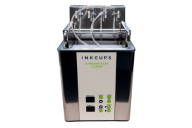 Inkjet Printing Auxiliary
 Laser Plate-Makers
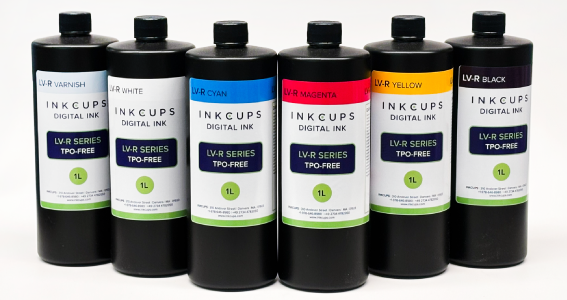 Inkjet Printing Supplies
 Pad Printing Supplies
 Tagless Supplies
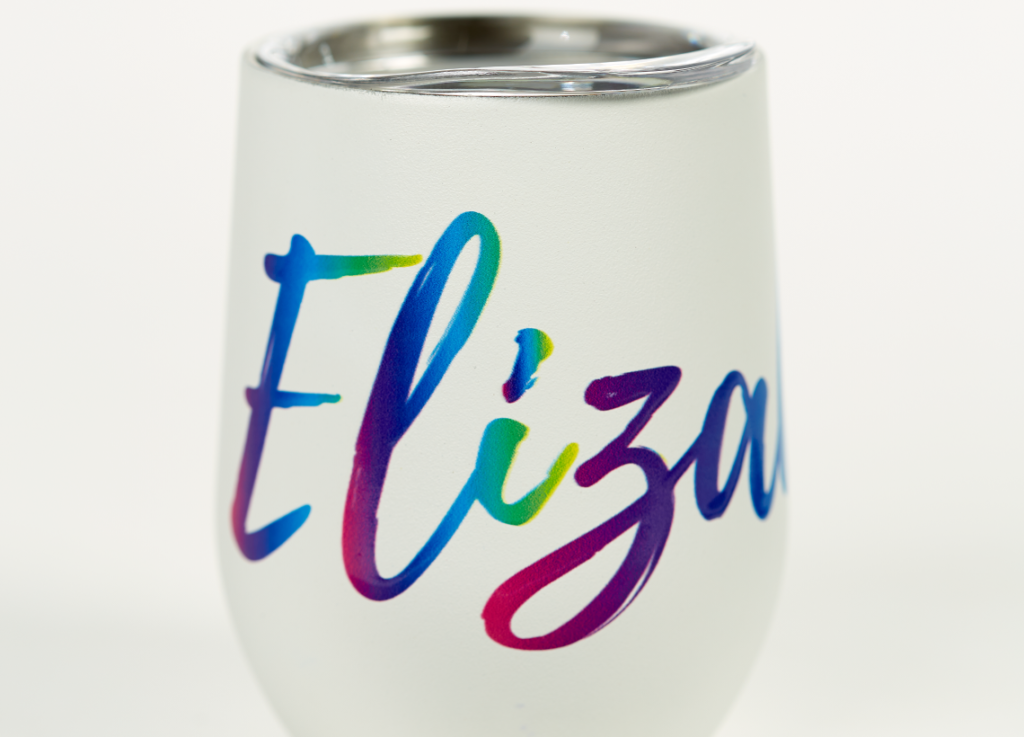
Add Your Comment