Pad printing and promotional products often go hand in hand. However, in truth pad printing can be used in numerous industries for a wide range of applications. Before we begin, what will you be printing on? The substrate, its material, and its surface will all factor into which pad printer, what orientation and size pad, and what ink will best suit your needs. Check out all the different pad printers we have to offer on our dedicated Pad Printing Machines page. Play around with the selector function which sorts pad printers by amount of colors, image size, part height, and automation capabilities. Once you’ve narrowed down what you’ll be printing on, visit our checklist for pad printing to help itemize what you’ll need for a successful printing session.
Industrial parts, drinkware, toys, and apparel are additional avenues to pad print on. Look to pad print on vessels for cannabis, cosmetics, medical tests and more. Golf balls, baseballs, ping pong balls, and basketballs are common sporting good applications for pad printing. As you can see, the possibilities are endless. Find more inspiration as to what you can pad print on, 41 Cool Things You Can do with Pad Printing.
Consult this checklist for pad printing next time you step up to the plate (or cliché 😉):
Pad Printing Checklist:
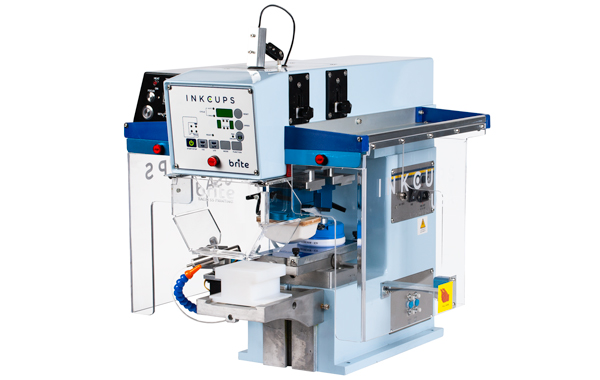
✓ Pad Printer: Pad printers are available in a wide range, from tabletop units to standalone, from one color to six color capabilities, from small artwork to large artwork size, and more. Some pad printers are equipped with automation capabilities in the form of carousel or linear over-conveyor
✓ Ink Cup & Ring: Ink cups range in size and therefor in holding capabilities. The larger the size ink cup, the larger the image that can be printed. Each ink cup comes equipped with a doctoring ring and Inkcups’ ink cups are known for the coating inside the ink cup that is resistant to ink and solvent, making for an easy cleanup.
✓ Silicone Pad: Printing pads are available in various shapes, sizes, material, and durometer.
✓ Pad Printing Ink: Ink is highly dependent on material. Inkcups offers pad printing inks for glass, ceramic, leather, coated metals, paper, plastics, and more.
✓ Solvent: This is a key additive in the pad printing process. Solvent is added to ink during the mixing process to break up the pigments and resin which help the ink turn tacky enough to be transferred from the printing pad to the substrate.
✓ Hardener: Pad printing hardeners are also added to the ink mixture to increase abrasion properties once the ink is cured.
✓ Plate: The etched pad printing plate, or cliché is a very important part of the process. There are a wide variety of plate materials available dependent on your needs. To begin, there are two different ways to etch on a plate with either a laser plate maker or exposure unit. There are photosensitive- alcohol wash and photosensitive water wash plates that are etched with an exposure unit. Meanwhile, there are a wide variety of plate materials for laser engravers depending on the specs of your laser plate maker. Additionally, different plate materials yield different impressions during a life span.
✓ Ink Mixing Kit: A mixing kit for pad printing should consist of the following items: paddles, sticks, mixing cups, latex gloves, lint-free towel, and a solvent dispensing system. While these all may seem like small details, they’ll make you life easier in the long run!
✓ Gram Scale: Ink, solvent, and hardener are mixed by weight, therefor a gram scale will be a huge asset in the mixing process.
✓ Packing Tape: It’s never too early to think about clean up, and the longevity of the pad printing process. After every printing shift it is important to properly clean the pad. This can be done easily with clear packing tape. Simply remove any excess ink that has stuck to the pad with packing tape, then cover or store the pad overnight.
On top of the physical aspects to check off, there are a couple of additional areas that need just as much attention:
✓ Workspace: Do yourself a favor and have a clean workspace to print in. Have easy access to towels, extra mixing cups, and a bottle of water. Stay hydrated!
✓ Temperature controlled environment: Create the best printing environment possible by working in temperatures between 65 to 75 ° F (18-24° C). If you recall, solvent evaporates when it is exposed to air during the mixing process, therefor temperatures higher than the ideal range will expediate the evaporation rate too much making for unpredictable mixing ratios.
Additional areas to consider:
✓ Laser Plate Maker: Stop outsourcing the etching of your pad printing plates and bring the processes in-house. Laser plate makers are easy to use and allow you to control the quality of the print, flexibility to etch on your schedule, ability to change artwork designs as needed, and reduce wait times.
We hope you found this checklist for pad printing helpful. Please contact us today for any additional questions you may have.
 Tagless Printers
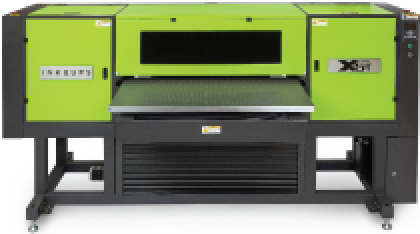 UV Flatbed Printers
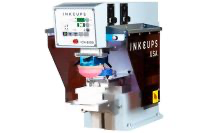 Pad Printing Machines
 Pretreatment Systems
 Inkjet Printing Auxiliary
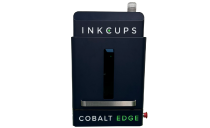 Laser Plate-Makers
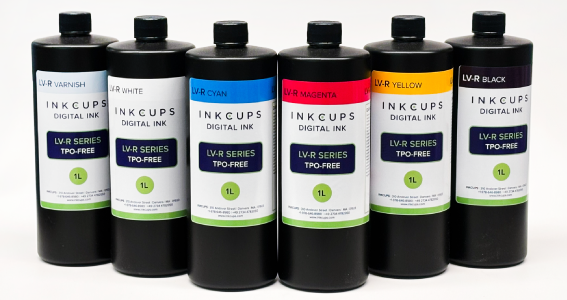 Inkjet Printing Supplies
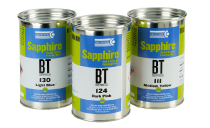 Pad Printing Supplies
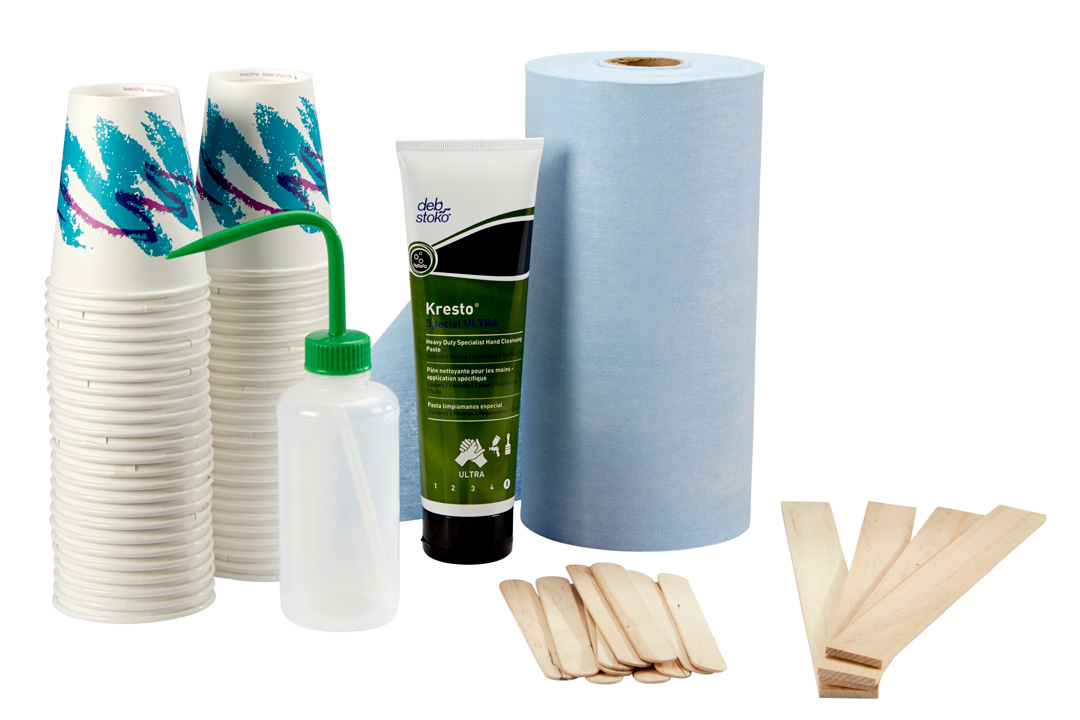 Tagless Supplies
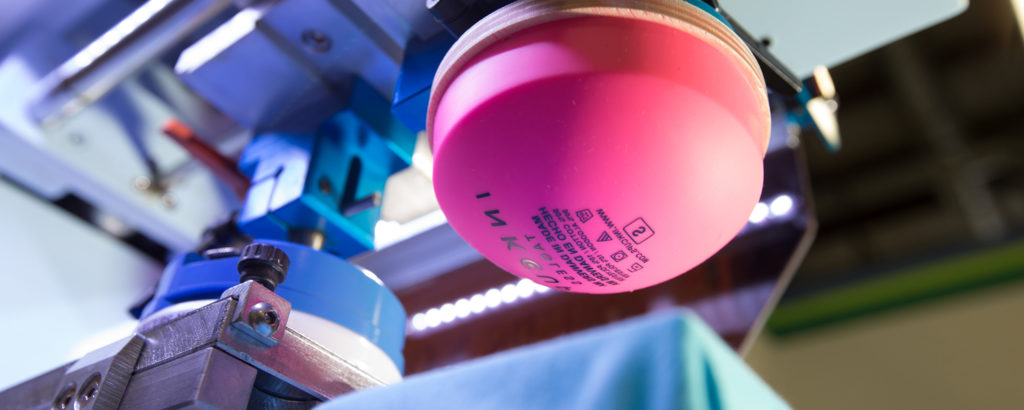
Add Your Comment