How does UV Printing Work?
There’s a bit of prep that happens before you hit “print” on your UV printer. Here’s a step-by-step breakdown of what the process really looks like:
Pick Your Product
What are you printing on? Whether it’s a tumbler, a phone case, a cosmetic container or something totally custom, your substrate (aka the item you’re printing on) is the first thing to lock in. Shape, material and surface treatment all matter. Some materials may require pre-treatment to ensure proper ink adhesion.
Create Your Artwork
Next comes the design. Build your file using professional design software like Adobe Illustrator or Photoshop. To be ready to print, artwork needs to be in PDF, EPS, or tiff files, as long as it is vectored. If you are printing photorealistic images, make sure that the it is a high-resolution file, at least 300 dpi. Keep your brand in mind and make sure the file is ready to print: the right resolution, color mode and size are key here. Need custom colors? Color matching and proofing come into play to stay true to your brand.
Choose the Right Printer
With product and artwork ready, it’s time to explore the types of UV printers that best suit your needs. UV printers come in three main styles: cylindrical (for round items like bottles and tumblers), flatbed (for flat or irregularly shaped objects), and conveyorized (for high-volume production lines). Each has the same core UV printing technology, but they’re tailored for different applications.
Set Up the Printer
The first step to setting up an inkjet printer would be creating, or getting tooling made. Digital flatbed printing a bed full of products may require additional setup as well. Inkcups provides comprehensive documentation to walk you through the steps for template building, and has additional resources of tutorial videos, available to our customers, on the Support Hub.
Load your artwork into the digital inkjet printer’s software and place the product securely on the print bed (or mandrel, in the case of cylindrical printing). Remember that there is no universal ink, so UV Ink Series are specific to different applications. The specific ink for your application needs to be loaded into the machine before you start the print.
Start Printing
The printer takes the digital file and instructs the printhead to release UV-curable ink in microscopic droplets directly onto the surface of the product. As each layer of ink is applied, UV lamps follow close behind, instantly curing the ink. This prevents smudging and allows for razor-sharp detail and rich color.
Quality Check
Before calling it done, inspect the product. Check for clarity, alignment, and color accuracy. If needed, tweak your settings or run another test print. One way to reduce product waste is to put sheets of vellum on your product to run the first initial test prints, this protects the product in case color profiling or registration is off. Once it passes inspection, it’s ready for printing and packing. One of the key benefits of digitally printing is the fact that it is instantly cured. There is no need for a post-cure or separate dryer. Print, pack and ship.
While every setup is a little different, especially depending on your printer model or material type, these are the key steps decorators across industries follow. Whether you’re printing promotional items, consumer goods or packaging, this process helps ensure quality and consistency with every print.
 Tagless Printers
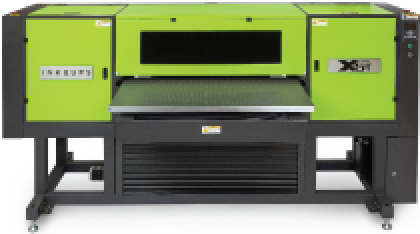 UV Flatbed Printers
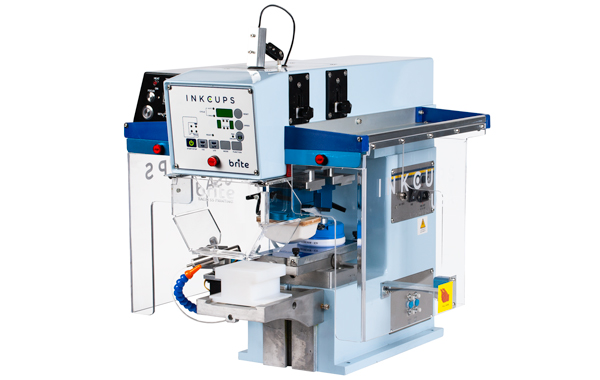
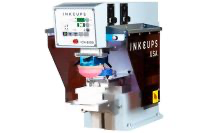 Pad Printing Machines
 Pretreatment Systems
 Inkjet Printing Auxiliary
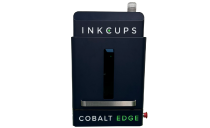 Laser Plate-Makers
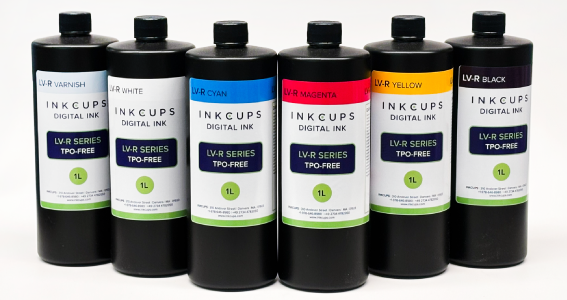 Inkjet Printing Supplies
 Pad Printing Supplies
 Tagless Supplies