 Tagless Printers
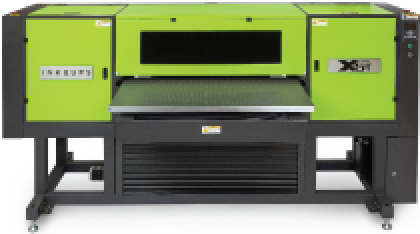 UV Flatbed Printers
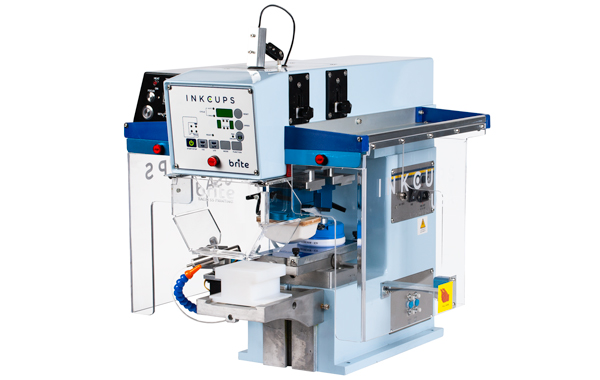
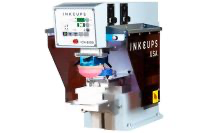 Pad Printing Machines
 Pretreatment Systems
 Inkjet Printing Auxiliary
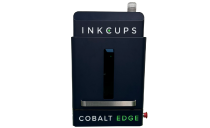 Laser Plate-Makers
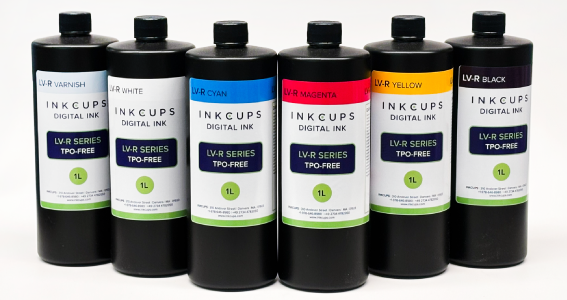 Inkjet Printing Supplies
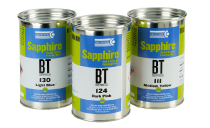 Pad Printing Supplies
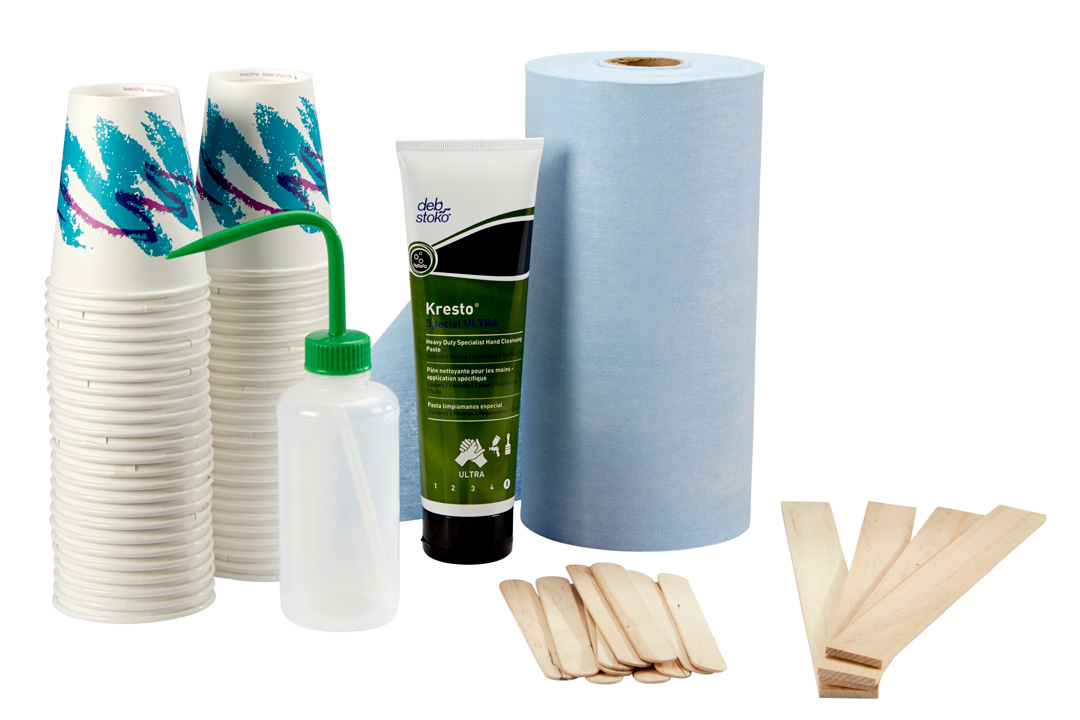 Tagless Supplies
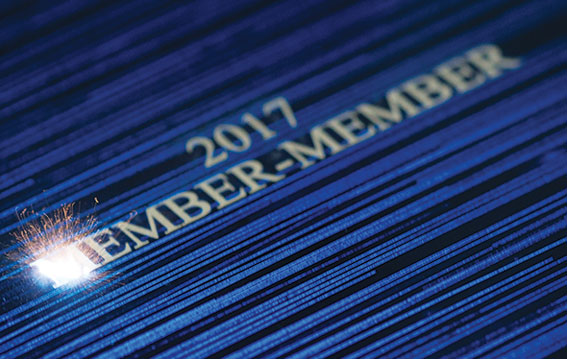
One of the most important components of a pad printing machine for apparel is the pad printing plate or cliché. The pad printing plate is etched with the desired tag logo and set on the pad printing machine for printing. If the plate-making method is chosen incorrectly, it can lead to smudging and misprints. For the purpose of this article, we will discuss the top plate-making methods for tagless applications.
Laser Plate-Maker
The easiest way to create a pad printing cliché or plate for tagless applications is utilizing a laser plate-maker. This is a computer-to-plate process which does not require chemicals or additional consumables. With laser plate-makers, the artwork is created in Illustrator, outlined, and opened in the laser plate-maker’s software. Here, the laser will start engraving or etching the plate material according to the depth needed for your application as well as in the particular pattern that will best suit it.
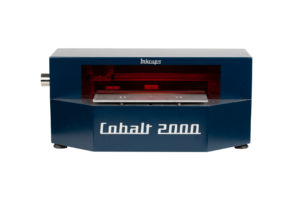
While this process is a larger investment, the return happens quickly especially if artwork is being changed over frequently. The follow is a list of consumables need for a laser plate-maker for tagless applications:
- Laser plate-maker (Fiber, CO2 or WFC)
- Ventilation system
- Laser plates
Exposure Unit
Exposing your plates or clichés is a more traditional process for creating this consumable for tagless applications. It requires exposing the pad printing cliché 3 times, washing the plate and baking the plate. The process starts with choosing the right photopolymer plate which can be water wash or alcohol wash. The decision for which to choose is dependent on budget, maximum plate life and desired design elements (i.e. halftones and fines lines). Next, the plate is exposed for the first time using a film positive, your plate of choice and an exposure unit. Depending on your plate material and exposure unit, these times can range from 1 minute up to 3 minutes. After, is the next round of exposing but this time, with a screen. After this has been exposed, it is time to wash the plate. Depending on your material (alcohol wash vs. water wash), you will either wash the plate with plate developer or water. This is done for an allotted amount of time that again, is dictated by the material you are using. Next, the plate is dried using clean, filtered air. Once the plate is dry, it is then baked for 10-20 minutes. Finally, after the baking process, the plate goes through a post cure.
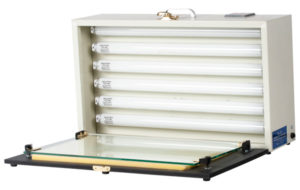
This is a more cost-effective process than using a laser plate-maker but will take more time. If there is frequent artwork change up, then this process may be too slow. The consumables needed for this process include:
- Exposure unit
- Plates
- Film positive
- Plate developer (or water)
- Brush
- Dryer
- Oven
- Miscellaneous products
Which method should I choose for my tagless applications?
Back to the original question, the answer will lie in the volume and operator’s preference. If your volume is massive and you have multiple tag artworks and sizes, a laser plate-maker will show a quick return. If you are a smaller shop with the same few tags over and over again, an exposure unit will do just fine. In either situation, you will end up with awesome, sustainable tags!
Add Your Comment