How Does the Chemical Etching Process for Tagless Printing Plates Work?
Chemically etching = requires the use of a photopolymer plate material – a hands-on process that follows three main stages: exposure, line screening, and washing.
Stage 1: First UV Exposure
The artwork is printed onto a film positive, a transparent sheet with the design printed in solid black. This sheet is placed over the photopolymer plate and exposed to UV light for 5–10 minutes. Any area of the plate not covered by the black ink hardens during this step.
Stage 2: Line Screen Exposure
The film positive is replaced with a line screen, a transparent sheet covered in thousands of tiny dots, available in either 200 or 300 lines per inch depending on how bold or fine the image needs to be.
The line screen serves three purposes:
- Adds a dot pattern inside the artwork area
- Improves plate doctoring and image quality
- Reduces common printing problems such as scooping
The plate is exposed to UV light again for 5–10 minutes.
Stage 3: Washing and Drying
Once both exposures are complete, the plate is washed using either an alcohol-based developer or a water-wash solution, depending on the plate material. This step removes all uncured photopolymer, leaving behind the finished etched plate.
The plate must be completely dry before use. It is typically placed in a drying oven for 10–15 minutes.
Polymer platemaking is a time-consuming process that requires the use of many consumables. It is, however, a much lower start-up cost than laser platemaking. Polymer platemaking has a lot of room for error, therefore it is important to keep exposure times as accurate as possible.
Additional Resources
The Effects of UV Light on Photopolymer Plates
Photopolymer Platemaking Exposure Times
Check out the whole platemaking process here
Check out the whole process here
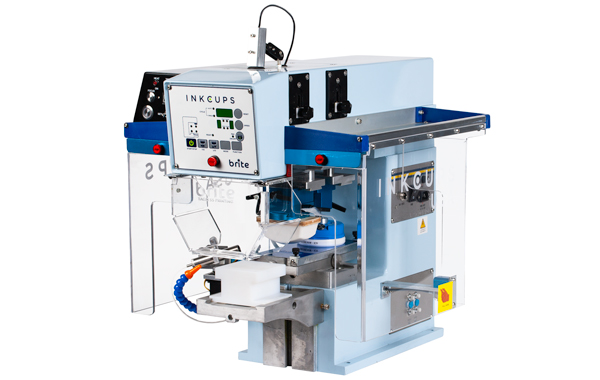 Tagless Printers
 Cylindrical Inkjet Printers
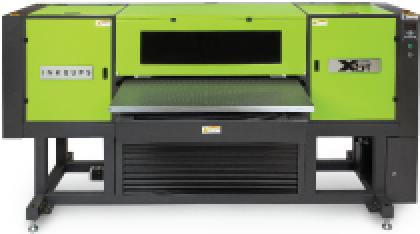 UV Flatbed Printers
 Pad Printing Machines
 Pretreatment Systems
 Inkjet Printing Auxiliary
 Laser Plate-Makers
 Inkjet Printing Supplies
 Pad Printing Supplies
 Tagless Supplies