 Tagless Printers
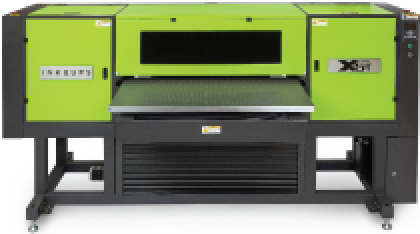 UV Flatbed Printers
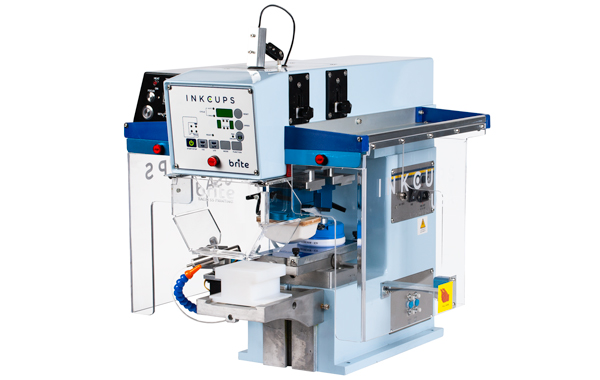
 Pad Printing Machines
 Pretreatment Systems
 Laser Plate-Makers
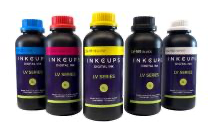 Inkjet Printing Supplies
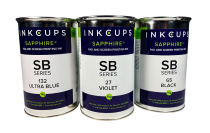 Pad Printing Supplies
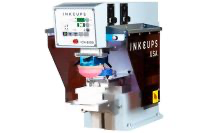 Tagless Supplies
Blog

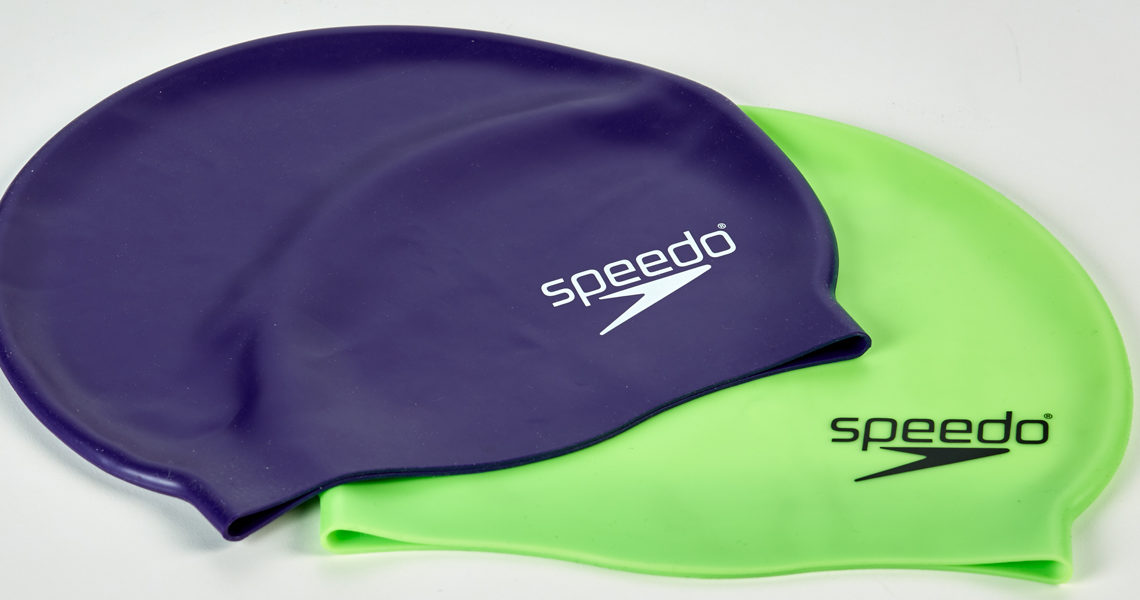
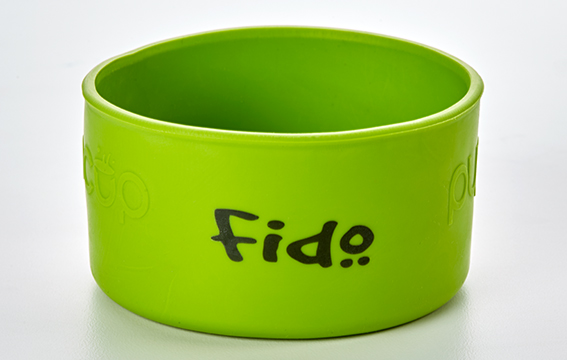
There are also medical products made from silicone, such as prosthetics, masks, and implants, which may need to be painted or marked. Another application is marking the silicone keypads used in aircraft instrument panels.
There are very few ink systems available on the market for silicone decoration. It seems that the only thing that sticks to silicone is … silicone. So all the available ink systems that I’ve seen so far are essentially liquid silicone, designed to be printed using screen- and/or pad printing equipment and requiring heat curing.
Most screen- and pad printing companies are accustomed to dealing with solvent-based or UV-curable inks. Silicone-based inks are very different. Here are some considerations and tips for handling them successfully.
Unlike solvent-based inks, silicone-based inks always remain wet – that is until they are cured in an oven with high heat. There are several implications that concern pad size, pad cleaning, depth of plate etch and multicolor printing.
It’s normal to have residual ink on the plate after it is doctored. Solvent-based residual ink will usually dry right away before the pad could pick it up and transfer to the product. But silicone-based ink will not dry – so you need to select the smallest possible pad that can pick up your image (and not touch the residual ink).
Silicone sticks to silicone, and there is a downside to that; the ink wants to stick to the silicone printing pad. With solvent-based ink, you get a complete release of the ink almost all the time. But with silicone inks, you need to clean the pad after every four or five prints, otherwise print quality will suffer. You can wipe the pad with a lint-free paper towel/cloth or tape the pad off with sticky packing tape. (Some pad printing machines are equipped with a cleaning station, and you can program the pad to ‘print’ onto the tape and get cleaned, as often as you need. We at lnkcups have pad printer models with cleaning stations.)
Silicone inks tend to be more transparent than solvent-based ink. Plus, as mentioned, the silicone pad can’t release all the ink. So the plate etch needs to be very deep to avoid potential problems with image opacity. The traditional depth of etching for printing onto promotional products is .001 inch. With silicone ink, we recommend .0015″ or even .002″.
I like to see our customers screen-print on silicone instead of pad print, for a few reasons. First of all, you lay down more ink so the opacity of the print is never an issue. Second, there is no danger of overprinting (accidentally picking up residual ink and depositing it around the image). You have a screen with dots, and whatever comes through the dots, is your image.
Another big advantage is the option of printing in batches. Similarly to the loading templates that we offer for ink-jet printing, some of our customers have developed templates for screen-printing. They use the templates to put ten to 20 of the same product in the correct spots and print them with one screen at the same time, which dramatically increases productivity.
Silicone ink can also be sprayed through an air gun. This is what is done for covering silicone products such as face masks and medical items with skin-tone colors. lnkcups offers special thinning oil to enable this application.
Things to avoid with silicone ink during printing are extra friction and heat. In a hot environment, the ink will get more viscous (thick). Conversely, low temperatures prolong the pot life of silicone ink.
When screen-printing, the squeegee speed may create excessive friction over the screen, and the ink may jelly up in the screen and start to set. This mostly concerns high volume producers that run production at very high speeds. You can’t avoid friction completely, but you should slow the squeegee down. (When pad printing, the ink cup speed does not affect the ink negatively.)
Silicone can be made on the base of platinum or tin. Silicones with different bases are not compatible, and platinum-based ink will not stick to a tin-based product.
Most silicone products that our customers encounter are made with platinum-based silicone (out of hundreds of applications, there have been only two where the product turned out to be made of tin-based silicone). If you are planning to decorate a silicone product, you may need to check product composition with the supplier.
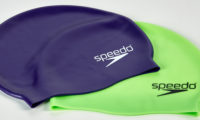
How much heat and time is needed to cure the product depends on how big the graphic is and how much ink you are laying down. For SI silicone ink that we offer at lnkcups, we recommend starting with six minutes at 124 degrees C (255 degrees F). Some customers will be able to use a little less heat and time – but you will need to test your particular product and image internally. In my experience, wristbands require less heat/time and swim caps, more. If your product is coming out of the oven and the ink is smudging off, it needs more heat and/or time. When cured properly, the ink becomes an integral part of the product.
You want to aim at the lowest heat and shortest time that does the job, not only for productivity reasons but also to avoid exposure to formaldehyde, which would pose health risks. Liquid silicone starts producing formaldehyde when heated to a certain temperature. For our SI inks, it is 149 degrees C (300 degrees F). It is crucial that you ask your silicone ink provider what that temperature is for their ink formulation.
If you are not sure if your product is actually made out of 100% silicone watch the video: Silicone Printing: How to Test if your Product is actually Silicone.
Most people print one-color images onto silicone. Multicolor jobs become very cumbersome because you have to completely cure one color in the oven before printing another. If the registration of the second color needs to be very precise, it adds another layer of challenge, especially with pad printing, where your tooling fixture becomes critical. With screen-printing, I’ve seen customers achieve good registration by using templates.
Our SI silicone ink is a platinum-based two-component system. It consists of ink and catalyst (hardener). The pot life of SI is much more user-friendly than that of solvent-based inks. Once you add the hardener, you have 24 hours or more to use that ink (solvent-based ink, once mixed, lasts for six to eight hours). To extend pot life, even more, some of our customers store the mixed ink in the refrigerator overnight and in this way use the same batch for over two days.
SI is a very safe product. It has little to no odor. It passes compliance tests such as CPSIA with flying colors. In addition to numerous variations of promotional products, SI is actively used in medical applications, such as marking breast implants and coloring artificial skin to make it look natural. SI comes in 18 stock colors. We also offer a twelve-color mixing system with a calculator for color matching so the customers can create Pantone colors in-house. Technicians like myself are standing by to answer any questions and help you be successful with printing on silicone – or virtually any other substrate for that matter.


Jessica
Hi Dan, Our SI Series remains wet until it is heated. Meaning, you can most certainly wait a few minutes or even all day before putting it in the oven. Please feel free to reach out to us with any other questions you may have! Thanks!
December 6, 2019
Dan Kees
Thanks for the great article. We are looking at adding SI inks to our pad printing lineup. How soon after I print a part do I need to get it in the oven? I'd like to fill trays of printed parts to increase productivity. It could take a couple minutes to fill a tray depending on the part size. Would I be OK putting the parts in the oven a few minutes after printing, or do they need heat applied immediately?
December 6, 2019