 Tagless Printers
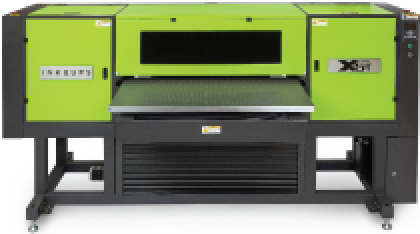 UV Flatbed Printers
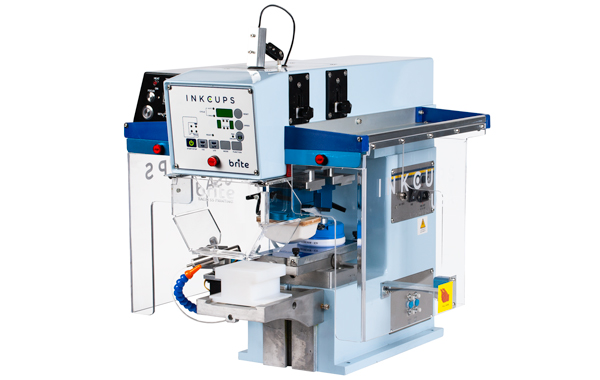
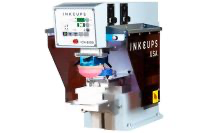 Pad Printing Machines
 Pretreatment Systems
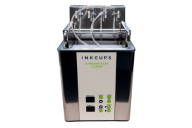 Inkjet Printing Auxiliary
 Laser Plate-Makers
 Inkjet Printing Supplies
 Pad Printing Supplies
 Tagless Supplies
Learning Center
Need help with a particular machine? Visit our FAQs section to find answers to common questions or submit a new question for Inkcups to answer.
Need help with a particular machine? Visit our FAQs section to find answers to common questions or submit a new question for Inkcups to answer.
| Creating a Film Positive | How-to Video | |
|---|---|---|
| Etch a Photopolymer Plate | How to video |
Still craving more information? Our blog is chuck full of new information! Head over to the blog for digital, pad printing, and tagless information!
Inkcups Blog