Pad printing ink for glass is a 2-component ink meaning it needs solvent and hardener to mix and print properly. With pad printing ink, solvent helps to improve the transferability and drying of the ink while hardener is the catalyst for curing the ink for better durability.
Qualifying pad printing ink for glass considers drying times, visual appearance, various shades, and special characteristics. When it comes to the CG Series Pad Printing Ink by Inkcups, it is classified as a fast drying, satin gloss ink available in 23 standard shades, 11 high density shades and 5 metallic shades. It is also dishwasher resistant when proper post-treatment steps are taken.
Further reading:
The Key Additive: Pad Printing Ink Solvent
How to know when to use Pad Printing Ink Hardener
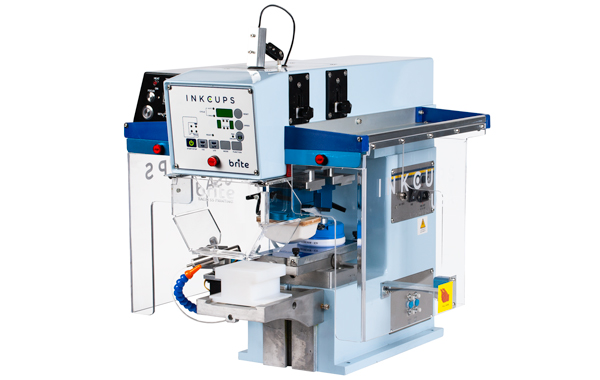
The Process
The process for pad printing on glass is like any other pad printing job. The differences lie in the pad and in the pad printing ink. For large wraps on glassware, a hollow pad is suggested. For simple logos on the front, either a round or rectangular pad will work best. The decision on which pad is optimal for your glass printing project is discussed during the purchasing process. The pad printing ink, on the other hand, has been chosen from the start. CG pad printing ink for glass by Inkcups showcases the best adhesion and vibrancy properties on glass and ceramic products. This series comes in a variety of colors including high density colors and metallics. The CG Series is also classified as Non-Toxic and the pigment is made free from heavy metals.
Further reading:
CG Series Color Card
High Density Color Card
Post Treatment
After the glassware items have been printed, the products are heated to ensure full dishwasher resistance. The heating seals the bond between the pad printing ink for glass and the product itself. While heating is not necessary for all glass applications, it is done to most because of the increased dishwasher resistance.
Applications
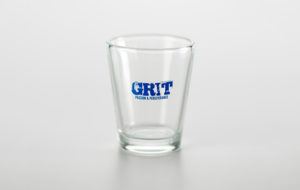
SHOT GLASSES
Shot glasses are the perfect product to pad print as they are very small in diameter and usually do not require too many colors.
PINT GLASSES
Pint glasses for chain restaurants or bars need the best adhesion possible because of the constant washing and high temperatures.

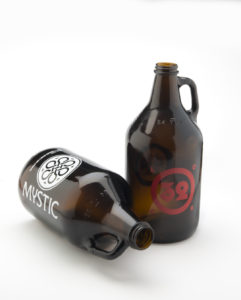
GROWLERS
Growlers are another item that typically only need a few colors along with measuring information on their products.
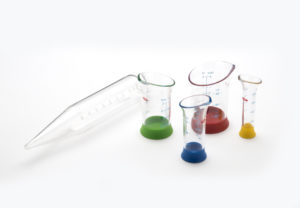
OTHER GLASSWARE
Pad printing is a great option for practically any glassware item. Other products such as test tubes and beakers can be printed with the CG Series.
Check out our pad printing ink application chart to match one of our pad printing inks with your product!
 Tagless Printers
 UV Flatbed Printers
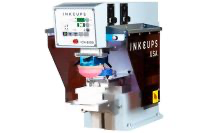 Pad Printing Machines
 Pretreatment Systems
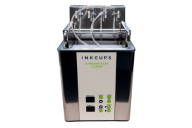 Inkjet Printing Auxiliary
 Laser Plate-Makers
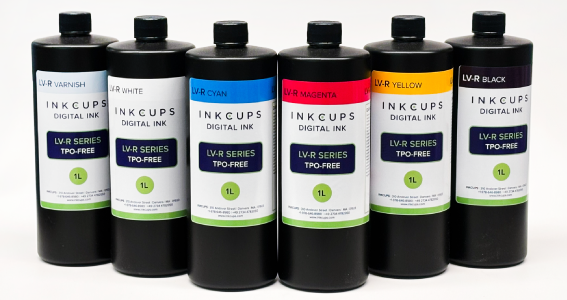 Inkjet Printing Supplies
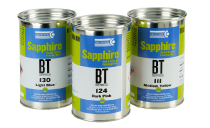 Pad Printing Supplies
 Tagless Supplies
Add Your Comment